
The At-Home Manicure Routine for a Gloss That Lasts
The At-Home Manicure Routine for a Gloss That Lasts A salon-looking manicure at home is not about expensive tools — it is about order and patience. Polish chips for predictable reasons: oils on the nail plate, coats applied too thick, tips left unsealed. Follow this routine step by step and a home manicure can stay…
The At-Home Manicure Routine for a Gloss That Lasts
A salon-looking manicure at home is not about expensive tools — it is about order and patience. Polish chips for predictable reasons: oils on the nail plate, coats applied too thick, tips left unsealed. Follow this routine step by step and a home manicure can stay glossy and chip-free for a week or more.
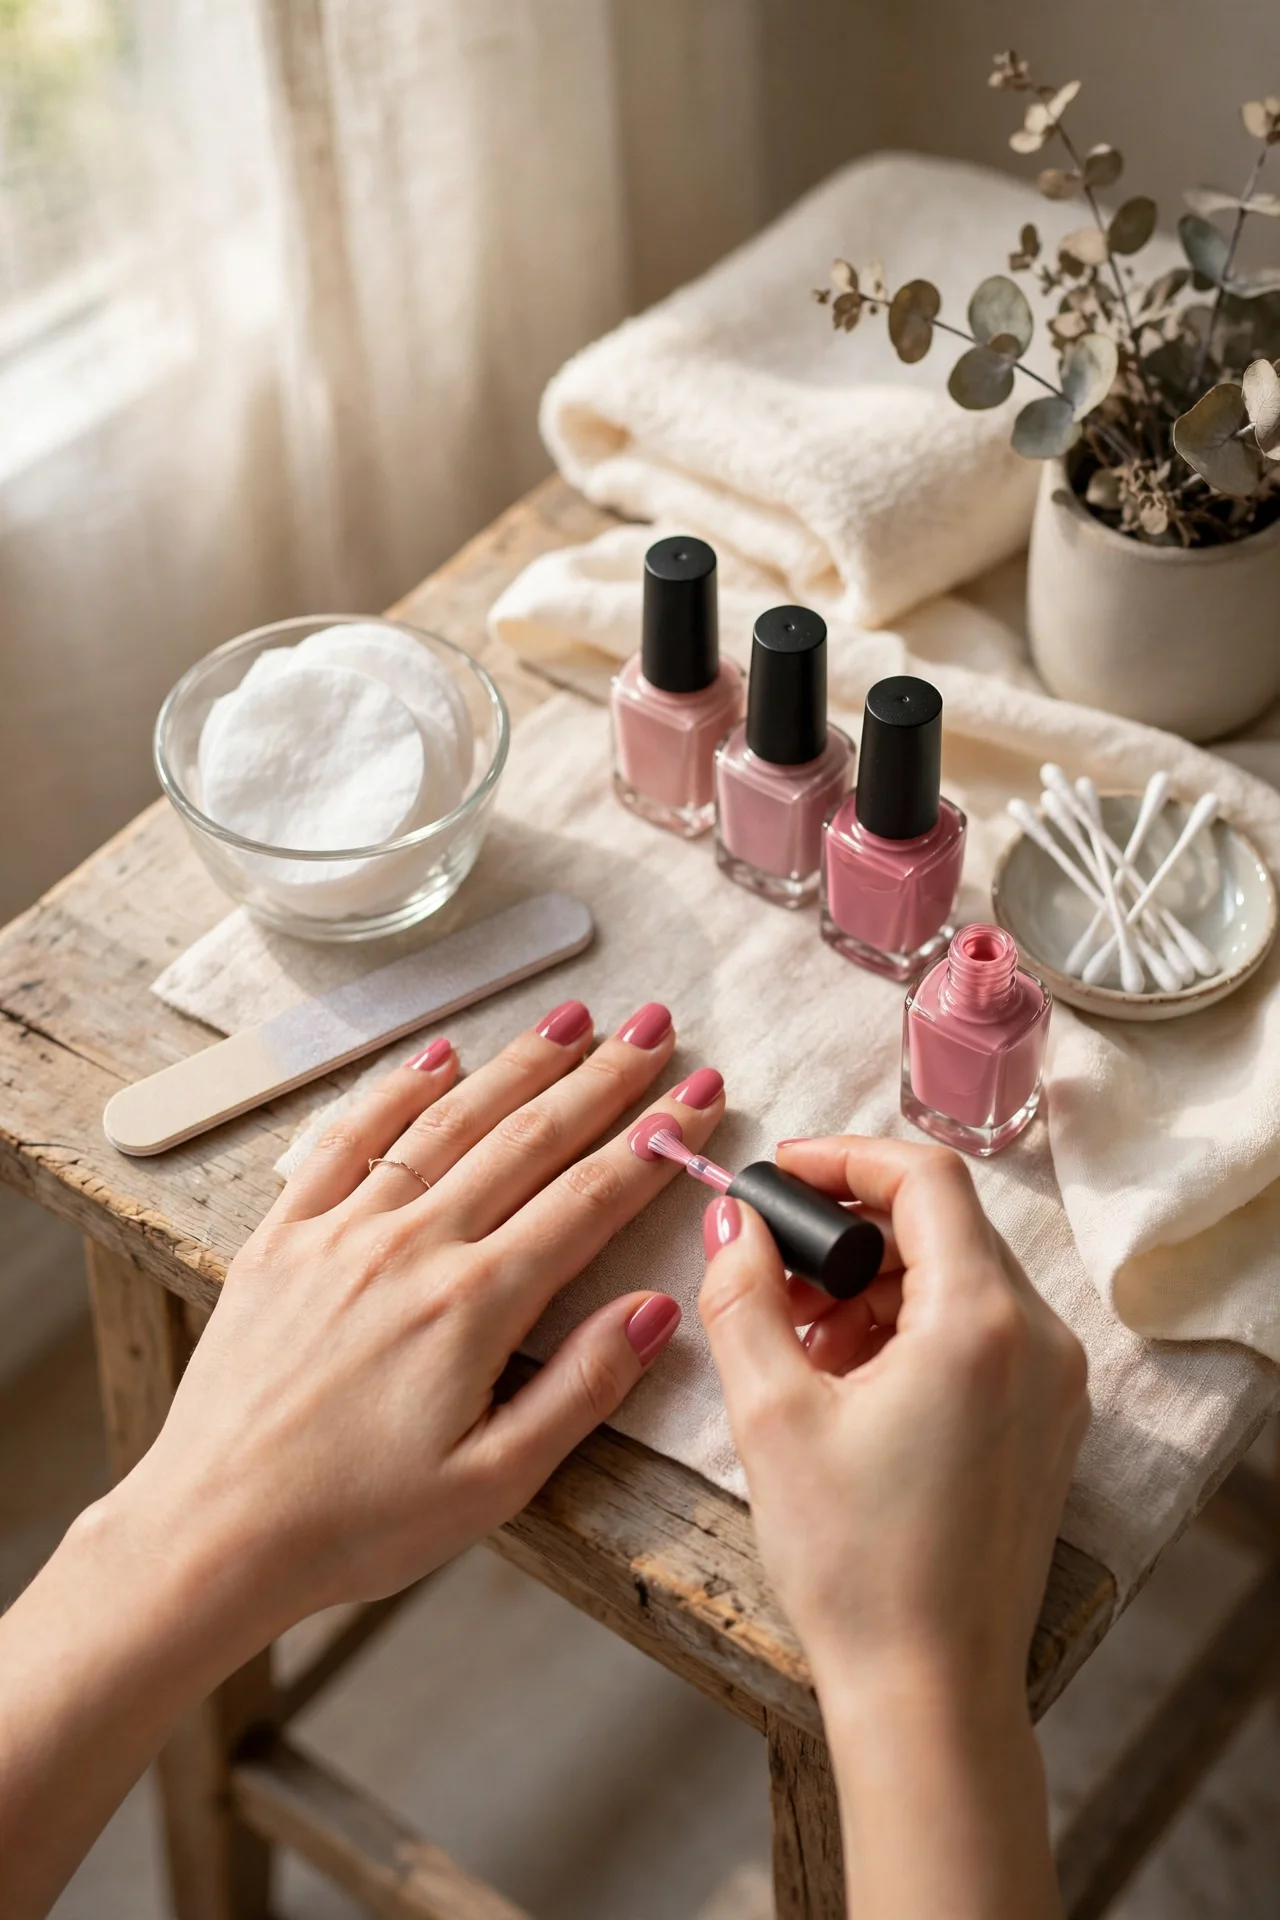
Before you start, gather everything: remover, cotton, a gentle file, cuticle oil, base coat, your color, and a good top coat. Pick your shade first — our everyday nail design ideas and this season’s autumn nail colors are a good place to look.
Step One: Clean and Shape
Remove every trace of old polish, then wash your hands with soap and warm water. File dry nails — wet nails tear easily — in one direction only, following the shape you want to keep. Almond and oval shapes resist breakage best because they have no sharp corners to catch.
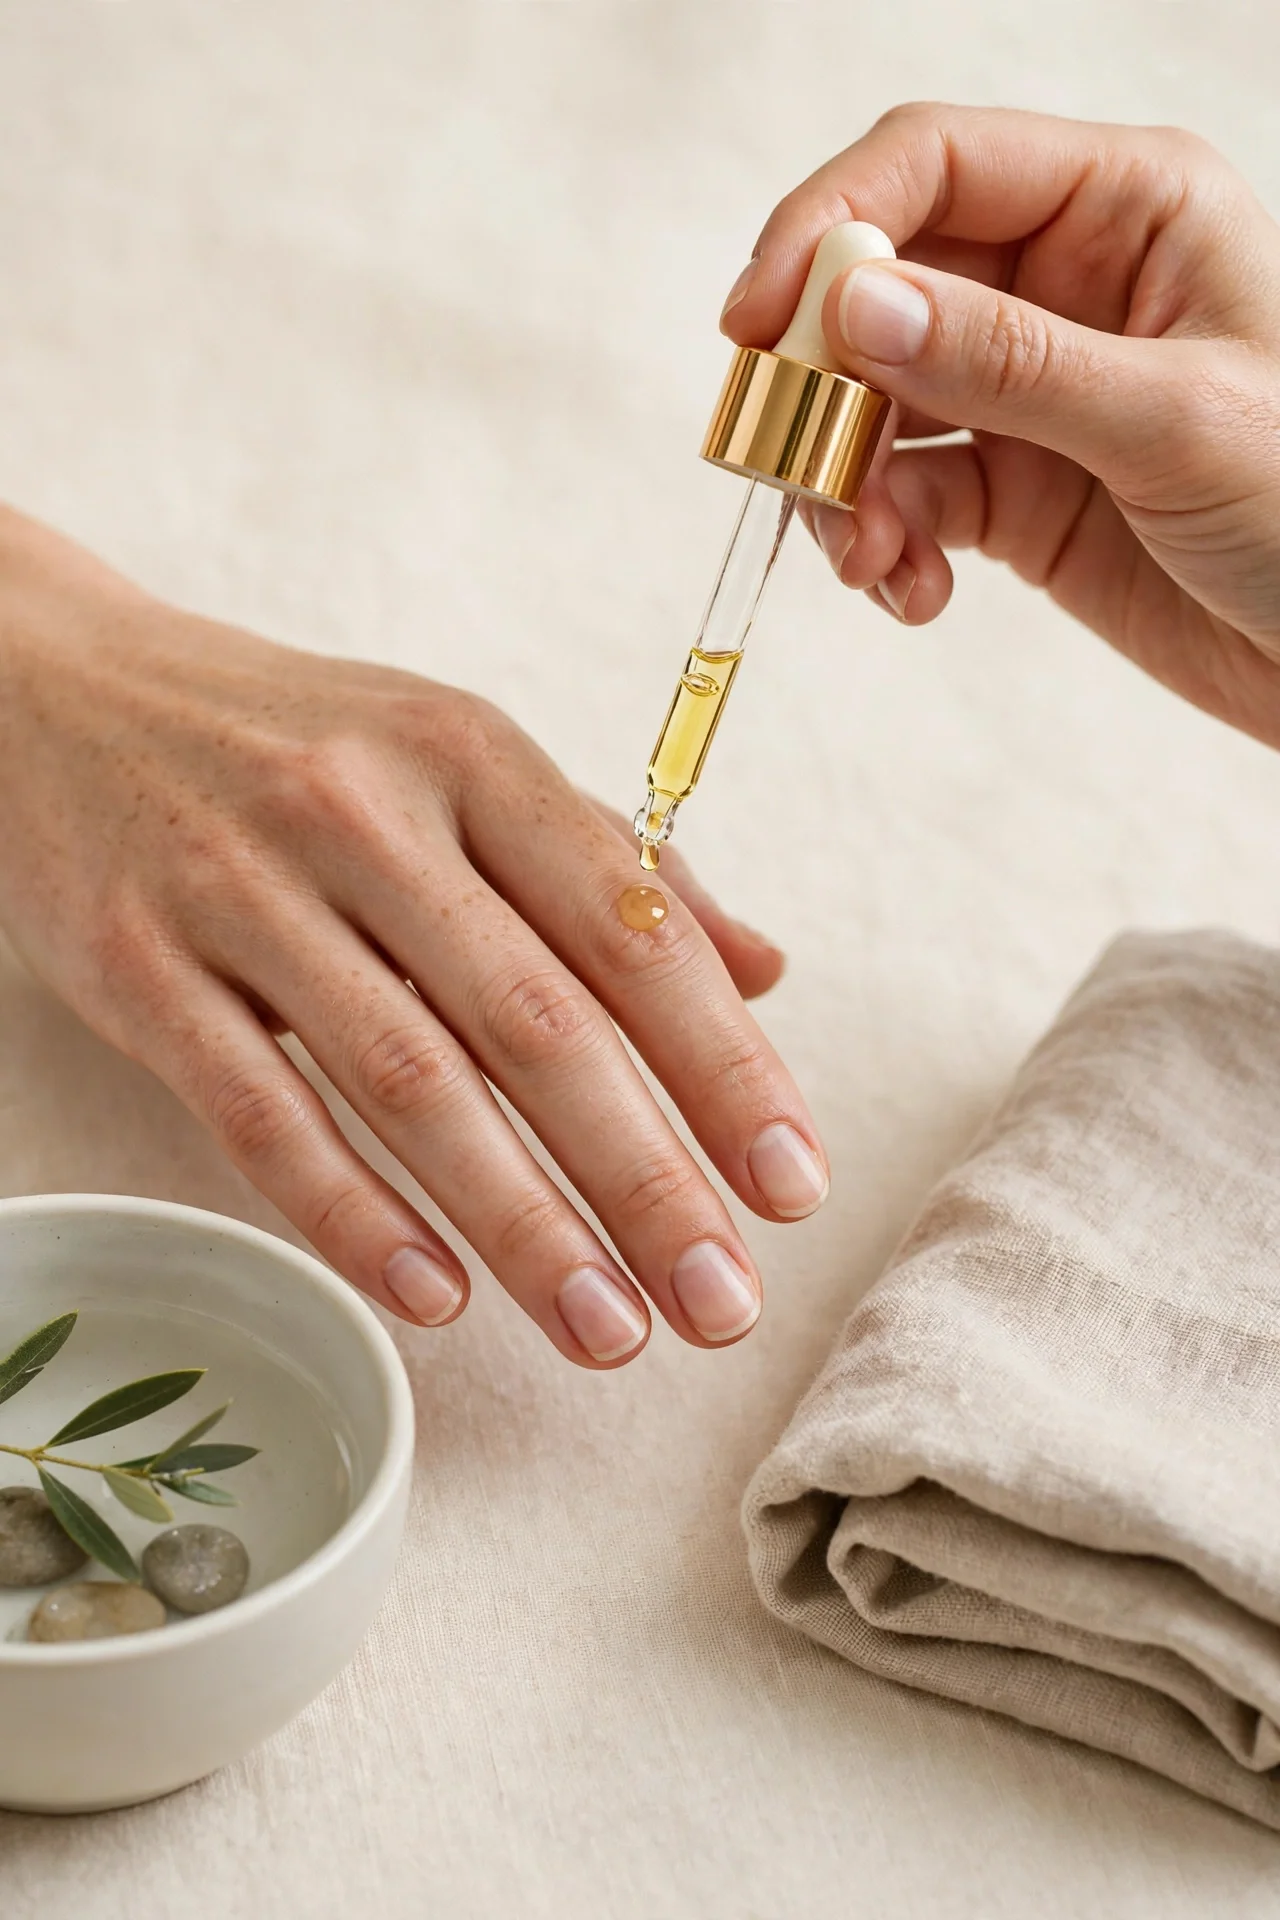
Push cuticles back gently with an orange stick after your shower, when skin is soft. Never cut living skin; trimming cuticles too aggressively is how home manicures end in soreness instead of shine.
Step Two: Prep the Nail Plate
This is the step most people skip, and it is the one that decides how long the manicure lasts. Swipe each nail with remover or rubbing alcohol to strip away natural oils — polish cannot grip an oily surface. Then apply a thin base coat and let it dry fully. Base coat protects the nail from staining and gives color something to hold onto.
The care habits behind this step matter beyond polish day too; the full routine lives in our nail care basics guide.
Step Three: Thin Coats, Sealed Tips
Two thin coats of color always outlast one thick one. Thick polish stays soft underneath, which is why it dents and peels. Paint in three strokes — center, left, right — and with each coat, run the brush along the very tip of the nail. This “sealing the edge” is the professional secret to stopping tip wear, which is where most chips begin.
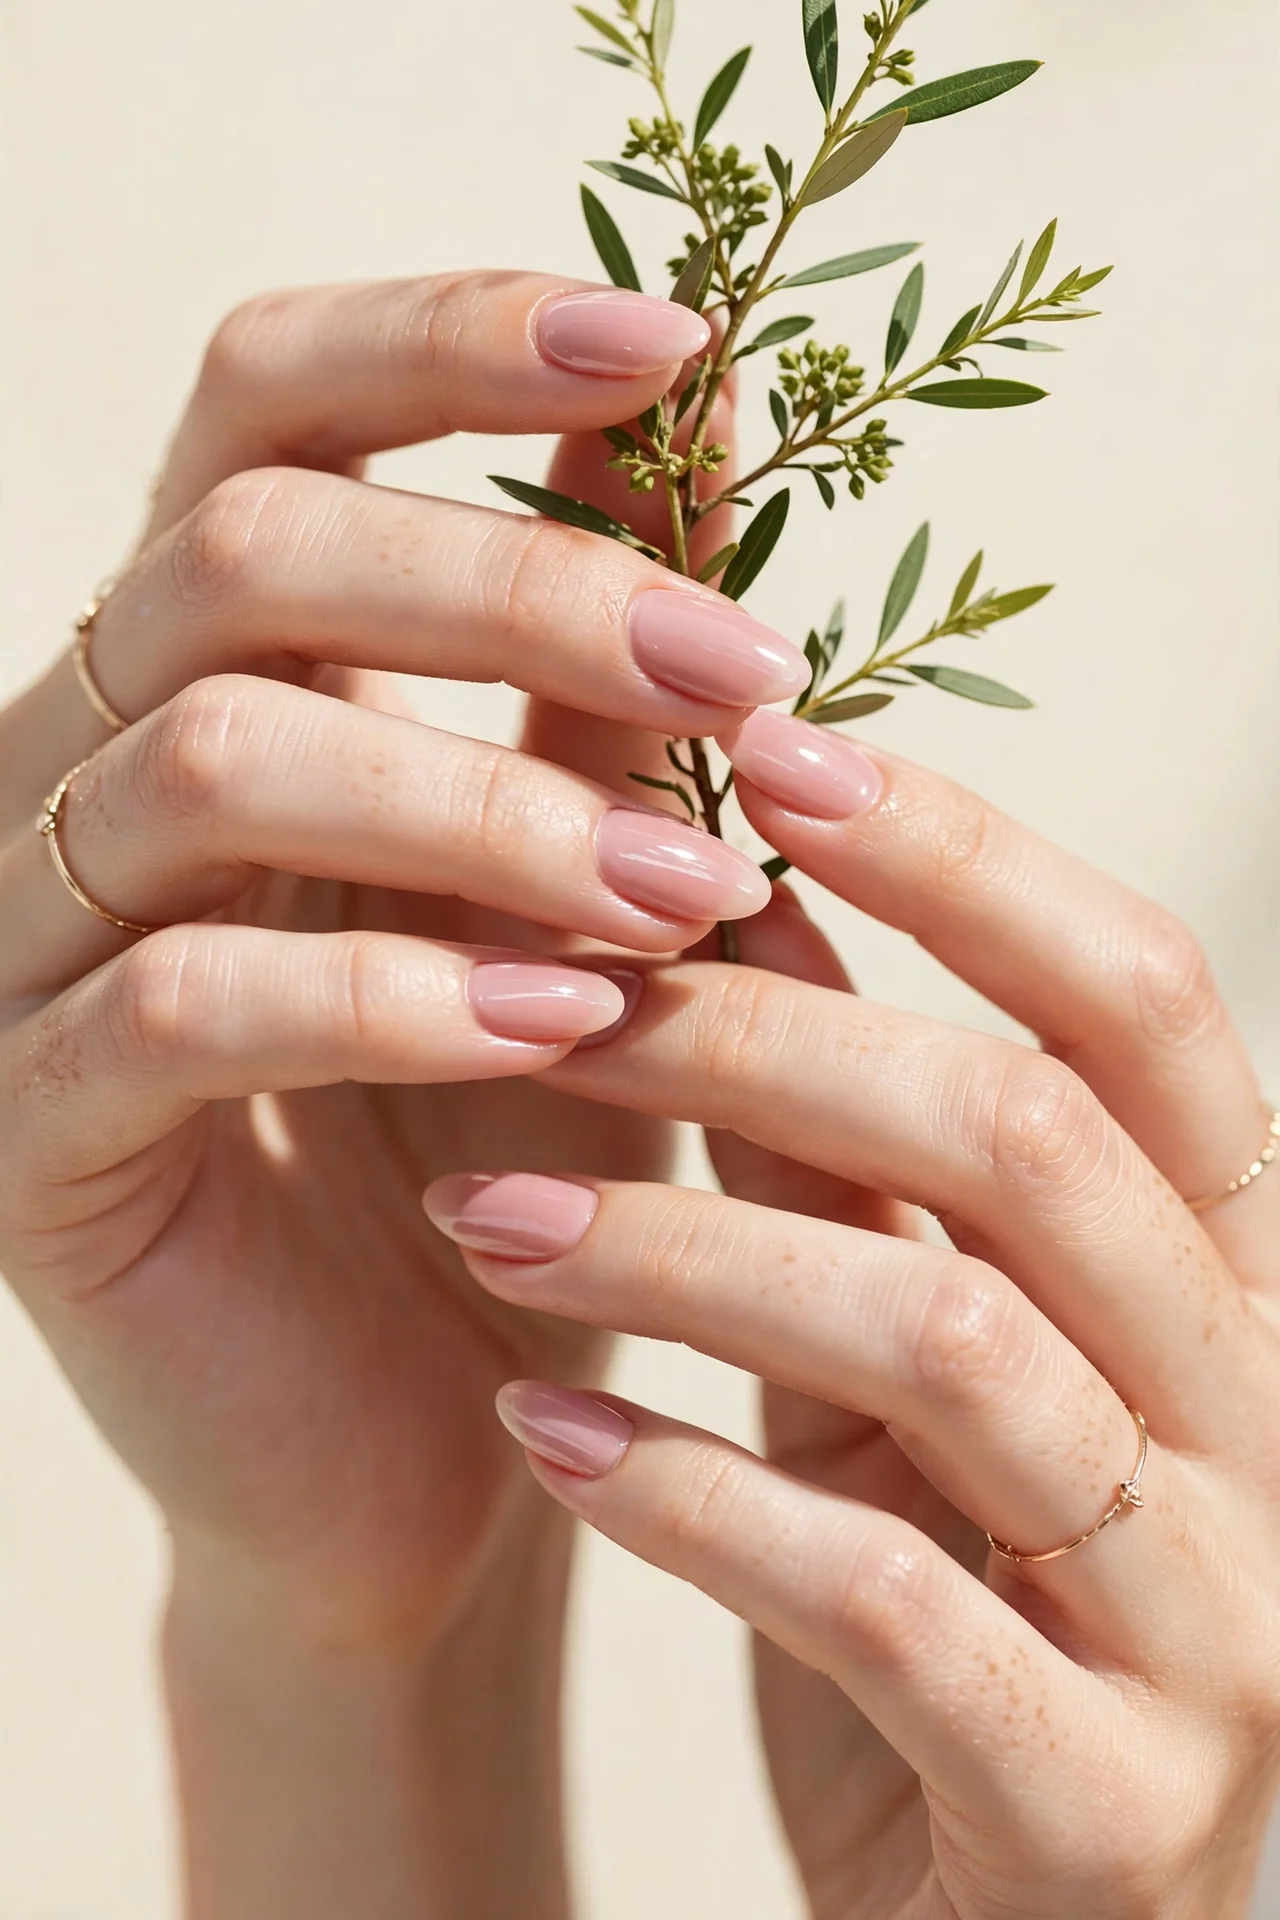
Let each coat dry for two full minutes before the next. Rushing this step is the most common reason home manicures smudge.
Step Four: Top Coat and the Two-Day Refresh
Finish with a glossy top coat, sealing the tips again. Then comes the habit that truly extends a manicure: reapply a thin layer of top coat every two days. It restores the shine, covers micro-wear at the edges and can double the life of your polish. Wear gloves for washing up, use cuticle oil daily, and treat your nails as jewels, not tools — no opening cans or scratching labels.
If even this routine struggles against your lifestyle, an enhancement may serve you better — our guide to gel and acrylic nails explains the options honestly.
One Comment